[vc_row parallax_content=”off”][vc_column][vc_column_text]”I studied chemistry and biology in school. When I got out, I couldn’t find a job, so I was drafted, 1A.”
“What’s that mean, ‘1A drafted?'” I asked, squinting through the thick sulfurous smoke that hung in the air and adjusting the dust mask strapped to my face.
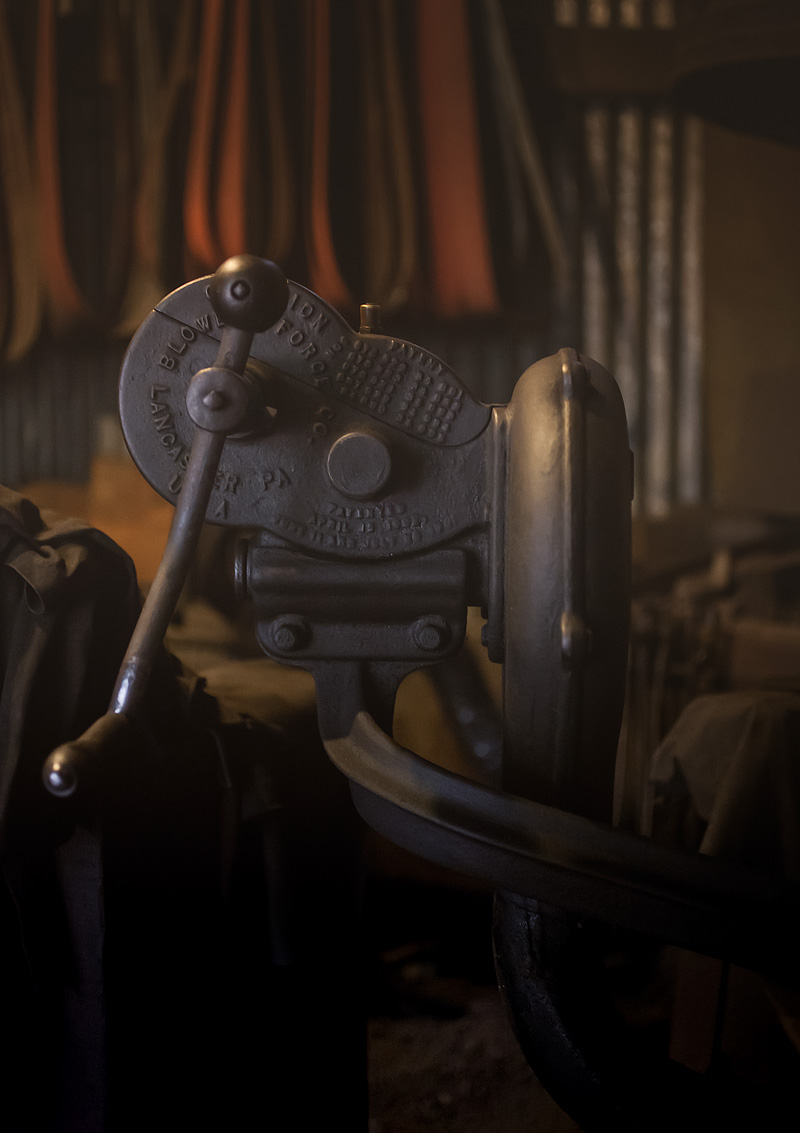
Karl tugged at the handle of a cast-iron forge blower; it was covered in soot and uttered a low metallic rasp as the fan inside it whirred. The bed of coals in front of us suddenly shifted from a faint red to a brilliant orange in a matter of seconds. A handful of small flames licked up from the rocks.
“Oh,” Karl muttered dismissively, “it just means I was at the top of the list. I was in good health, was educated, and had nothing better to do.” He paused, turning from the forge blower to pick up a long, thin pair of steel tongs that had been sitting near the coals. “I made these, see. I left them by the coals to preheat them. We want to preheat everything, because steel can crack if it changes temperature too rapidly. So I’m just taking the chill off of these.” He lowered the tongs and turned square to me. “This is a process, see. I’m going through all this slowly, so you can see that this is a process. It’s not about the end product. It’s about the process.”
I nodded. It was the fifth time in under 30 minutes that he had explained that this was a process.[/vc_column_text][/vc_column][/vc_row][vc_row full_width=”stretch_row” parallax=”content-moving-fade” parallax_image=”565″ parallax_content=”off” fadeout_row=”off” enable_overlay=”off” seperator_enable=”off” ult_hide_row=”off” css=”.vc_custom_1436917831076{padding-top: 35px !important;padding-bottom: 35px !important;background-position: center;background-repeat: no-repeat !important;background-size: cover !important;}” el_class=”light-text”][vc_column][vc_empty_space height=”600px”][/vc_column][/vc_row][vc_row full_width=”stretch_row” parallax_content=”off” fadeout_row=”off” enable_overlay=”off” seperator_enable=”off” ult_hide_row=”off” css=”.vc_custom_1436917774994{background-position: center !important;background-repeat: no-repeat !important;background-size: cover !important;}”][vc_column][vc_column_text]Karl picked up a small steel rod that had also been preheating near the coals, gripping it in the teeth of his homemade tongs and poking it firmly into the glowing bed of coals. He turned back to the crank and began turning it again. Flames leaped from the forge.
“I got sent to Fort Detrick, that’s in Maryland,” he continued. “They put me on a team with some other guys who were doing research on, um, weed killers and stuff.”
“Weed killers?” I asked.[/vc_column_text][/vc_column][/vc_row][vc_row full_width=”stretch_row” parallax_content=”off” fadeout_row=”off” enable_overlay=”off” seperator_enable=”off” ult_hide_row=”off” css=”.vc_custom_1436917774994{background-position: center !important;background-repeat: no-repeat !important;background-size: cover !important;}”][vc_column width=”1/2″][vc_single_image image=”486″ img_size=”full”][/vc_column][vc_column width=”1/2″][vc_column_text]”Yeah, well, the army wanted us to come up with something that could clear out foliage, in the jungle, see. They had this idea to clear out all the leaves from trees and bushes over there, so you couldn’t hide in the jungle so easy.” He leaned into the handle of the crank; the teeth of the gears inside the blower chattered rhythmically. “So we came up with a handful of different versions for them to test. Named them after colors, these herbicide agents. Agent green, agent blue, agent yellow…” His hand dropped from the crank and picked up the tongs. Gingerly, he plucked the small metal rod from the coals and held it up between us to inspect its color. It glowed brightly.
“…Orange,” he finished. “That looks like it’s ready to be worked, huh?” he exclaimed perkily, turning to a nearby anvil and hefted a massive ten-pound hammer into the air.[/vc_column_text][/vc_column][/vc_row][vc_row full_width=”stretch_row” parallax_content=”off” fadeout_row=”off” enable_overlay=”off” seperator_enable=”off” ult_hide_row=”off” css=”.vc_custom_1436917774994{background-position: center !important;background-repeat: no-repeat !important;background-size: cover !important;}”][vc_column][vc_column_text]But, I’m getting ahead of myself here. This whole story started about 6 months ago, when I decided I wanted to buy a new kitchen knife.[/vc_column_text][vc_separator el_width=”50″][/vc_column][/vc_row][vc_row][vc_column][vc_column_text]Specifically, I was interested in buying something sort of in between a small paring knife and a chef’s knife. I find my chef’s knife to be too big and clunky for working with smaller products like shallots, a bit to broad for taking apart small poultry. But my paring knife doesn’t have any knuckle clearance for chopping, so it’s not particularly useful for these tasks either.
Some chef friends recommended I consider Japanese “petty” knives, which are similar in size to Western utility knives but are thinner and lighter. In general I find I prefer Japanese knives to Western ones, so I started investigating. ChefSteps has a page mentioning some of their favorite knives, and they include a small selection of petties amongst these. But beyond a cursory and somewhat-generic description of each knife, there’s little information provided to suggest what differs one from another. What makes one petty knife cost twice as much (or more) than another? What’s the difference between damascus steel and ‘carbon’ steel (and what does that latter even mean)?
The slope grew quickly slipperier beyond this. The lower-priced damascus steel petty mentioned on ChefSteps is relatively easy to find online; the highest-priced one is not. This seemed strange; I’d always heard of damascus steel’s purported awesomeness, and had never heard of the maker of the more expensive carbon-steel blades. Some online searching for the highest-end brand (“Yoshikane”) on ChefSteps’s page intersected with forums in which members either seemed to be asking where to find one of these knives or announcing excitedly that they had nabbed one. They seemed to be almost like collectors’ items.
I started researching so-called “damascus” steel. Originally referred to as “wootz steel“, its variegated pattern (reminiscent of a flowing river) was a result of a combination of alloys and a tempering process that yielded a steel that was particularly durable and could hold its sharpness well. It was developed in South India; as word of its durability began to spread, forged ingots began to be imported to the Syrian city of Damascus, which was home to a thriving weapons industry. Bladesmiths in Damascus adopted and perfected the technique of forging this steel directly, and the reputation of the durability of Damascus steel became nearly legendary.
Unfortunately, the original method of producing this steel is now largely unknown. Differences in raw materials and the evolution of manufacturing processes have made attempts to recreate the steel mostly unsuccessful. Most “damascus” steel that’s widely available today is a bit akin to something like the ‘butter flavoring’ you might squirt onto your movie popcorn…it gets the job done, but isn’t the real thing by a long shot. Since modern folks rarely need to cut through pieces of armor, we understand the steel’s striking visual appearance more than we have a need for blade durability, and we’re generally content to leave it at that. Modern bladesmiths address this by creating steels with “Damascus patterns”: they fold together multiple steel alloys like layers of a croissant, and etch the final blade to highlight the variegated pattern. It looks similar to the wootz steel of legend, but the similarities typically end there.
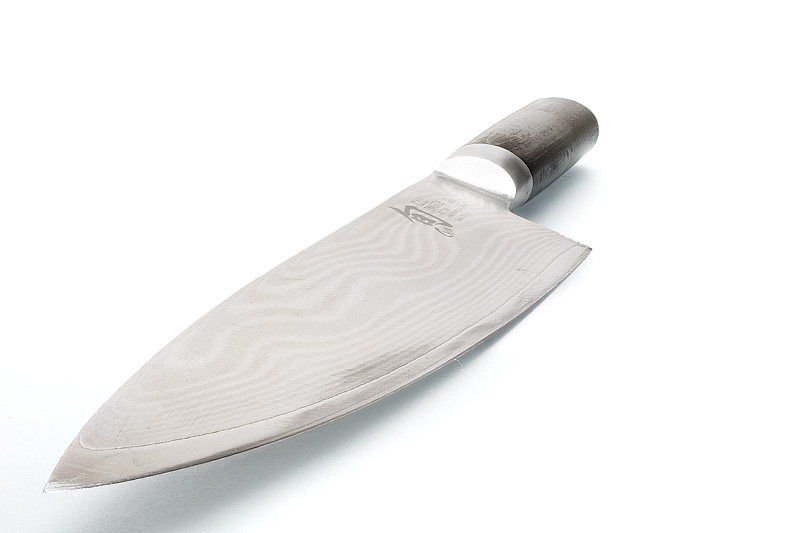
I realized that understanding the true character of the original wootz steel–as well as that of this ‘carbon steel’ that I kept coming across as I was exploring this–would require some understanding of metallurgy. To try to uncover more information, I started visiting knife shops in the Bay Area. The owner of Town Cutler guided me to one of his favorite manuals for getting an introductory understanding of how steel is made. Time to put your learning pants on:
A knife blade typically begins life as iron ore, which is simply rock impregnated with enough iron to make it interesting for us to want to extract it somehow. This “somehow” is accomplished by building a very hot fire inside a large, narrow chimney which is packed with iron ore. The ore eventually melts and drips down into a large container (the “hearth”), with the rock matter (“slag”) and the molten iron settling into two different layers (like oil and water). A tap draws off the iron, which contains some unknown percentage of carbon from the rock matter. This iron (called “pig iron”) is guided into a large, flat pool lined with iron oxide. The oxygen atoms in the iron oxide lining react with the incoming carbon atoms in the pig iron, forming carbon dioxide; the pool of molten iron bubbles vigorously during this stage as the carbon dioxide gas is released, leaving behind pure iron.
To this iron, a very specific amount of carbon can be added to yield what we call “steel”. The carbon contributes greatly to the hardness/durability of this metal. Below about 0.75% carbon content, this steel is not sufficiently hard enough to take/hold a cutting edge. In the range of 0.75% to 1.5%, the steel is referred to as “high-carbon” or “tool steel”; it’s within this range that steel can be forged into a tool used for cutting: rasps, files, axes, mill/drill bits, and knives. Above 1.5% or so, the alloy becomes too brittle to be used for bladesmithing; it’s then referred to as “cast iron”.
To high-carbon steel, other metal alloys can be added (tungsten, molybdenum, vanadium, nickel, and, in the case of stainless steel, chromium) to provide various qualities that might be desired for a given steel depending on its intended use.
How does stainless steel differ from high-carbon steel when it comes to knife blades? Stainless steel gets its name from its high resistance to rust and corrosion. In terms of kitchen knives, it’s incredibly convenient; a stainless steel knife doesn’t need to be washed immediately after cutting a lemon; it can be left out dirty overnight or sent through the dishwasher without fear of overt rust damage. But stainless is also difficult to sharpen to a razor edge, and doesn’t hold its edge particularly long.
This is where carbon steel excels, and is why carbon steel tends to be the preferred material of choice for most professionals and serious home chefs, who use (and need to sharpen) their blades frequently. Carbon steel can be sharpened easily and holds its edge much longer than stainless. This excellence comes at a price, however. Carbon steel is not corrosion or rust-resistant, so it’s typically a more finicky, high-maintenance blade. There’s a learning curve for someone moving from stainless to carbon blades; the blade will tarnish in minutes if not washed and dried immediately, and it needs to be stored properly.
After absorbing some of this, I went to visit another cutlery shop in San Francisco. Bernal Cutlery stocked most of the knives mentioned on ChefSteps’ site, and I wanted to get an understanding of their differences in person. With the help of one of the cutlers there, I checked out a Tadafusa petty, comparing it to a petty of similar size by Yoshikane. The latter was nearly twice as much as the former. The differences between these two knives is completely opaque on ChefSteps’ site (and, indeed, not easy to grasp based on any internet listing alone), but were obvious when handling the knives in person.
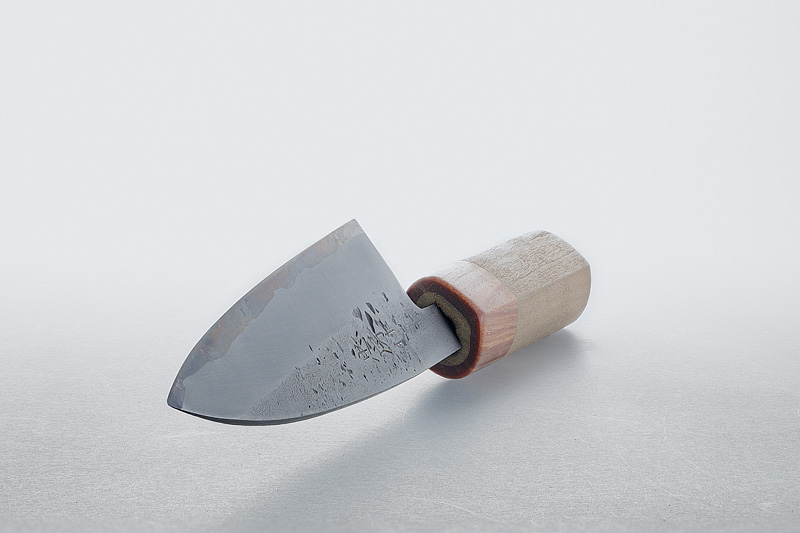
Both blades are carbon steel. The less-expensive Tadafusa blade has a central core made of something called Blue Steel, which is high-carbon steel to which some tungsten has been added for extra edge retention capability. This core is ‘jacketed’ by layers of low-carbon steel. The resulting blade is notably thicker than most Japanese blades, and the whole knife feels ‘top heavy’ and poorly-balanced as a result. This isn’t to say it’s a ‘bad’ knife by any means; the blade indeed holds a keenly-sharp edge and is easy to sharpen.
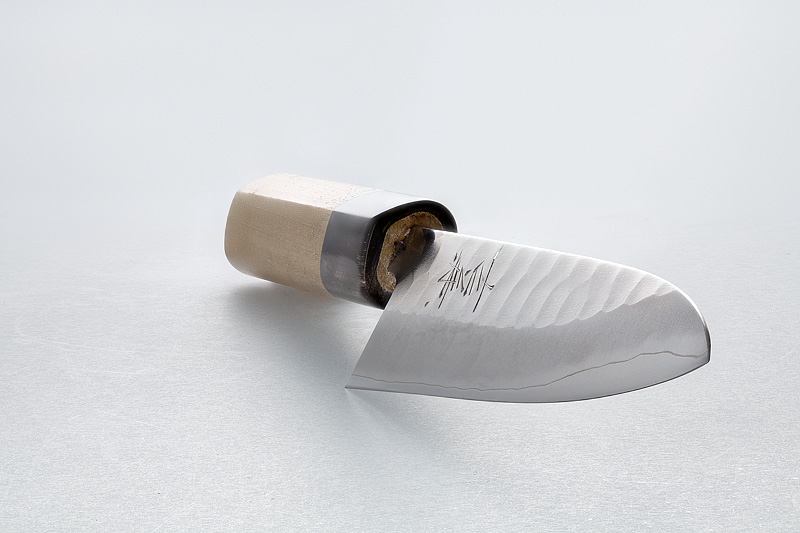
But it only takes a moment of holding the more-expensive Yoshikane to understand the differences. The Yoshikane blade is much thinner by comparison, and feels notably more balanced. The fit and finish on the blade feels more considered, and a feature I greatly appreciate on it is a rounded back edge of the blade, which makes it much more comfortable when sharpening (the typically-square and often-crisp rear edge of most knives can cause blisters or calluses if one sharpens them frequently).
By this point, I felt like I had a decent enough understanding of how to shop for a knife. But now I was fascinated by how to actually MAKE a knife.[/vc_column_text][/vc_column][/vc_row][vc_row full_width=”stretch_row_content” parallax_content=”off” fadeout_row=”off” enable_overlay=”off” seperator_enable=”off” ult_hide_row=”off” el_class=”light-text”][vc_column][vc_single_image image=”622″ img_size=”full”][/vc_column][/vc_row][vc_row][vc_column][vc_column_text]I signed up to take a blacksmithing class at The Crucible in Oakland. Over the course of 5 weeks, we walked through some basic smithing techniques that were ultimately put to use making a crude cutlery set. Starting with small bars of mild steel (or, in one case, rebar), we heated, pounded, reheated, and eventually shaped our stock into a spoon, a fork, and a knife.
I shared the class with a handful of others, one of whom was a retired surgeon who chatted with me off and on between heats. On mentioning to him that I was ultimately interested in making a knife, he excitedly mentioned that I should look up a bladesmith who lived up north of Oakland. “He’ll work with you over a couple days, teaching you what he knows, and in the end you walk away with a knife,” my classmate relayed to me. “The guy’s name is Karl. Karl Schroen.”
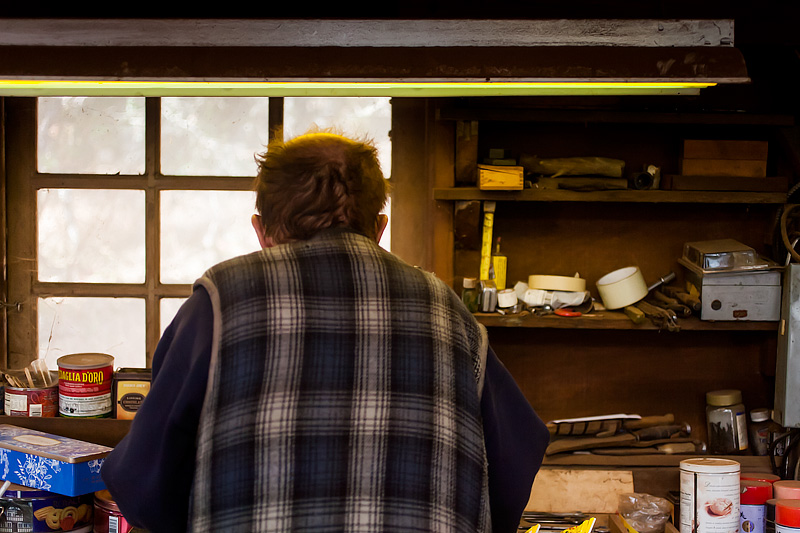
“I’ll be 80 in October,” Karl exclaimed to me brightly in between ringing blows of his hammer onto the small steel rod we were forging. Things were beginning to become clear to me by this point, and not only with the bladesmithing. Karl had been tricky to get ahold of; he had no social media presence, no email listed on his website. It had only been when I rolled slowly up his driveway to a small log cabin near Sonoma (“I built this house myself,” he advised casually as he led me behind it to his workshop/smithy. “Probably a decade before you were born”) that things began to make sense to me. As he had introduced me to his workshop — pointing out with visible thrill the various tools he owned that had survived since the beginning of last century — he had also explained a bit about himself.
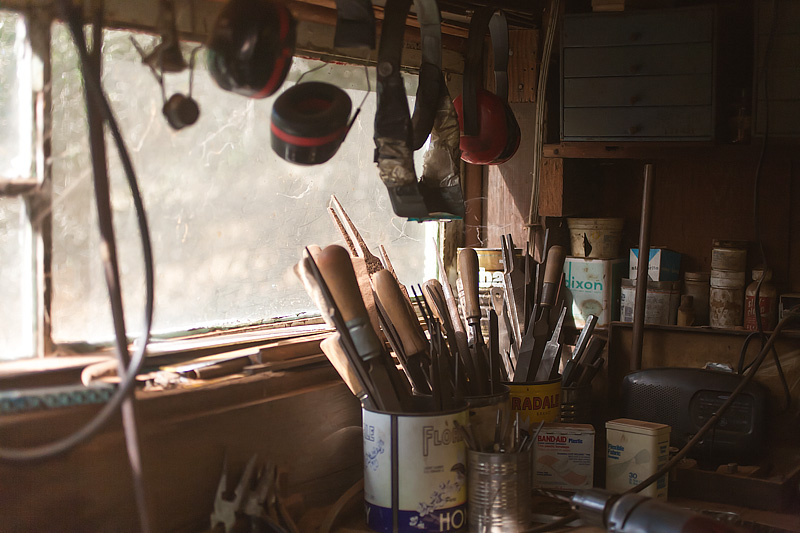
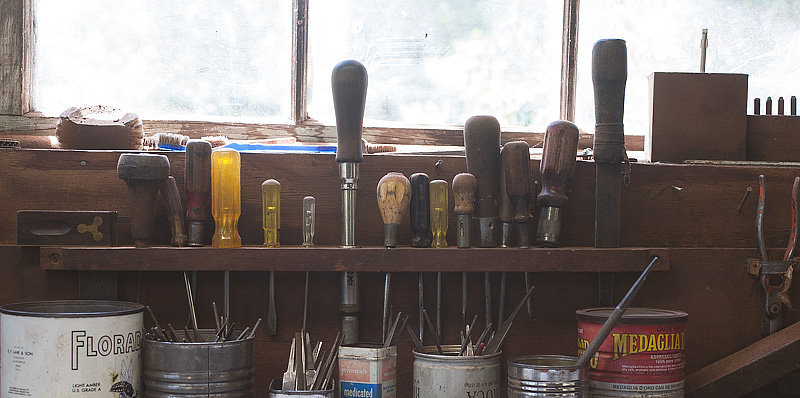
“My grandfather and my father were both blacksmiths,” he had explained. “I learned how to make knives and tools from them. Here, look at this,” he had turned and rummaged through a nearby drawer, producing a knife that had an oddly-dated style but with a blade that still looked vitally-sharp. “My dad made this knife, look here on the handle. He dated it. Nineteen twenty.” He had paused briefly, then pointed to a grinder sitting on the other side of the shop. “I made that grinder for free. The motor is from an old juicing machine.”
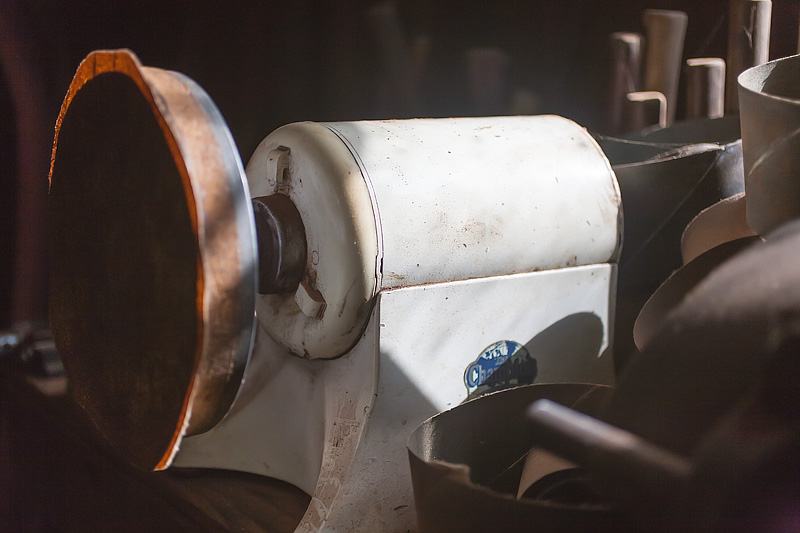
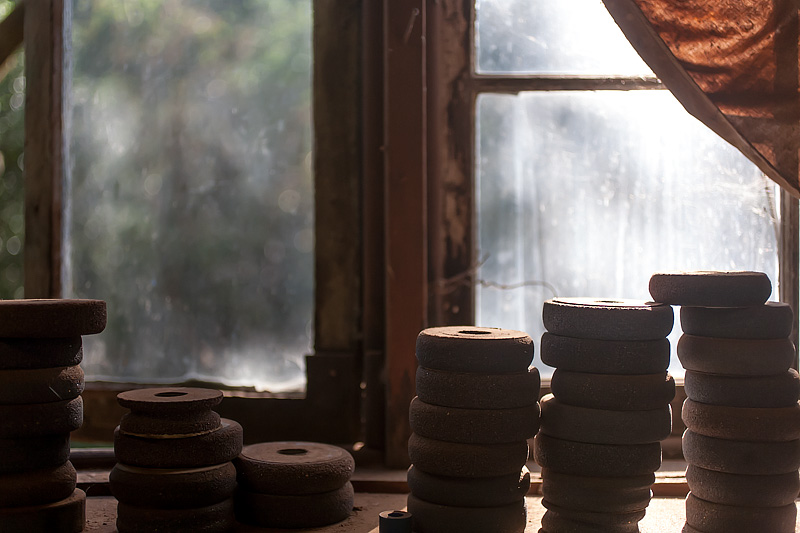
We had moved from introductions straight into work. “We’ll be starting with a 1/2-inch rod of d2 steel. We’ll forge out a blade and then a tang, then we’ll grind it into shape and heat treat it.”
“What is d2 steel?” I had asked, wondering what made the steel unique to him.
Karl had looked at me blankly, then waved the question off. “You can look it up. It’s a tool steel.”

A half hour later had found us standing in front of his coal forge, clad in safety goggles and dust masks and building an immensely-hot fire. “We put coke on the bottom of the forge bed, then layer coal on top of it. This forms an oven that we’ll heat our piece in,” Karl had advised. “I’m building the fire slowly, so you can see. It’s the process, see. This is a process.”[/vc_column_text][/vc_column][/vc_row][vc_row][vc_column][vc_row_inner][vc_column_inner width=”1/2″][vc_single_image image=”484″ img_size=”full”][/vc_column_inner][vc_column_inner width=”1/2″][vc_single_image image=”485″ img_size=”full”][/vc_column_inner][/vc_row_inner][vc_column_text]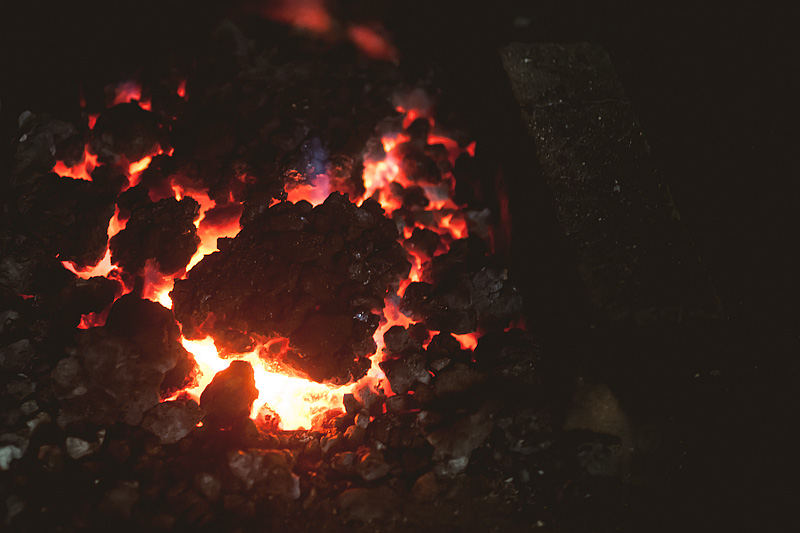
After heating the rod of steel thoroughly, Karl tugged it from the fire with his tongs and turned to his anvil, which we had also preheated with several rusty iron blanks that had been sitting near the fire. His small stature and hunched posture belied his exacting skill with the massive hammer he hefted and swung confidently down onto the hot steel. With several smart blows he squared the rod off, then began tapering one end of the rod. After several rings of the anvil, he turned to me and offered the hammer. “Here. Make the tang,” he instructed simply.[/vc_column_text][/vc_column][/vc_row][vc_row][vc_column width=”1/2″][vc_single_image image=”487″ img_size=”full”][/vc_column][vc_column width=”1/2″][vc_single_image image=”488″ img_size=”full”][/vc_column][/vc_row][vc_row][vc_column][vc_column_text]
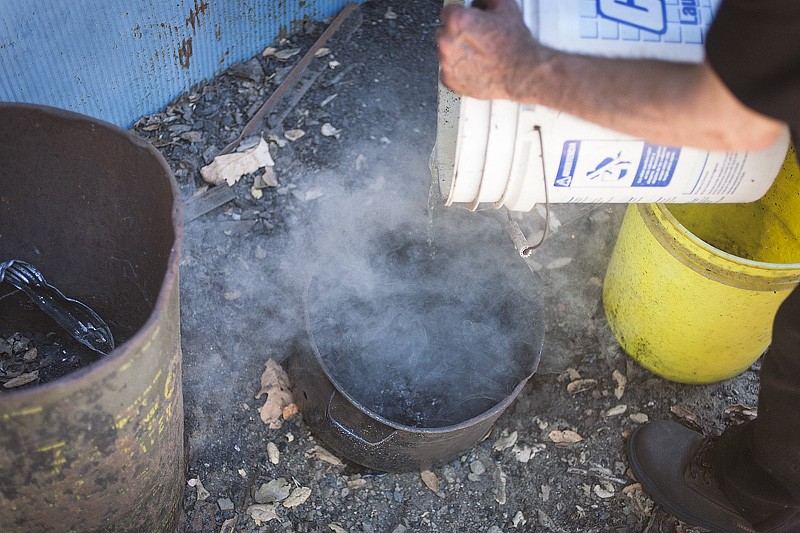
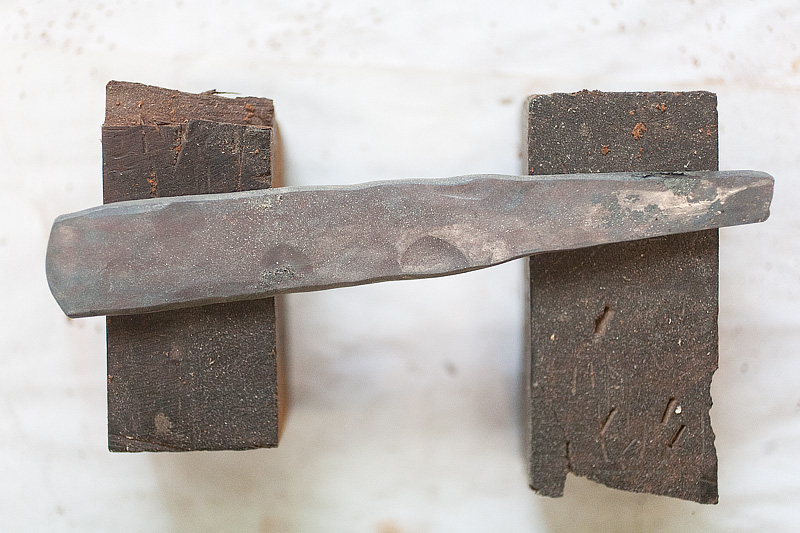
It took about a half hour at the anvil to work the steel into a rough, paddle-like shape. We buried the forged blank in a mound of preheated vermiculite to let it cool slowly, which left the steel in an annealed state ready for shaping. During this cooling process, Karl doused the forge with collected rainwater, extinguishing our fire so that we could recover burned coal (now coke) for the next fire.

We then moved into Karl’s workshop. “Ok,” Karl sighed as he peeled the ashy, grey dust mask from his face, “let’s sketch out what we want the blade to look like”. I roughed out a profile that seemed more or less befitting of a paring knife. “The tang will be hidden in the handle,” he pointed out as I turned the forged paddle in my hands and tried to visualize how this was meant to work.
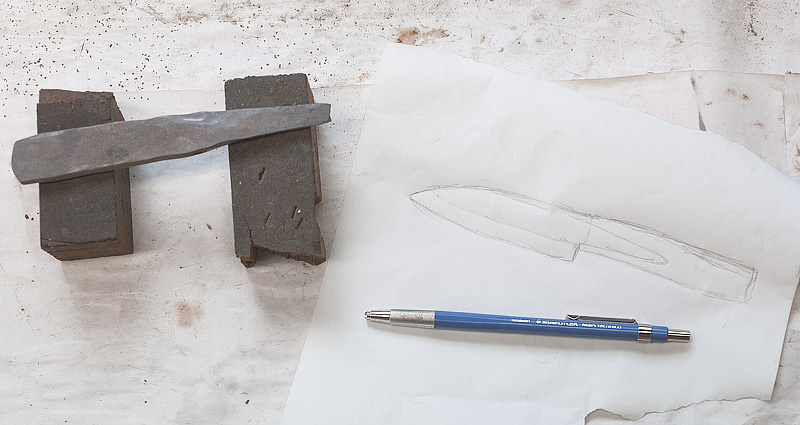
Satisfied with my rough draft, Karl plucked the steel blank from our workbench and turned to a nearby grinding wheel. “I’ll start shaping this roughly, so you can see some different ways to make the profile.” He held his finger up as he tugged his safety glasses down onto his nose. “It’s a process, see.”
[/vc_column_text][/vc_column][/vc_row][vc_row full_width=”stretch_row” parallax=”content-moving-fade” parallax_image=”610″ parallax_content=”off” fadeout_row=”off” enable_overlay=”off” seperator_enable=”off” ult_hide_row=”off” css=”.vc_custom_1436936936375{padding-top: 35px !important;padding-bottom: 35px !important;background-position: center;background-repeat: no-repeat !important;background-size: cover !important;}” el_class=”light-text”][vc_column][vc_empty_space height=”1200px”][/vc_column][/vc_row][vc_row][vc_column][vc_column_text]Working slowly, Karl ground the profile of the blade, then turned to the sides. “I’ll show you how to establish the edge here first,” he mentioned, moving very slowly and deliberately at the grinder. He paused every few minutes to hold the blade up between the two of us for me to inspect, eyebrows rising and grunting “Huh?” (as if to say “Do you understand?”) before continuing. He worked without gloves; when the steel grew too hot to handle, he thrust it into a nearby pot of collected rainwater before continuing. After several minutes of this, he flipped his safety goggles to the top of his head and handed me the steel. “Ok. Go for it.”
I tried to ape his movements, working the steel from one side then the other, periodically sighting down the developing edge of the blade to ensure it was straight. There were no measuring instruments here, none of the strict reliance on precision to which I’ve grown so accustomed in the kitchen. As I worked, Karl’s insistence on teaching me his “process” grew clear to me, and a deep respect for his ability to craft a precision instrument in this ramshackle workshop took firm hold in my mind.

Our first day together concluded with a roughly-hewn paring blade. I returned the second day to find Karl preparing more coal for his forge. “Today, we learn heat treatment,” he advised as he grabbed the handle of his forge blower and again began to crank it slowly.
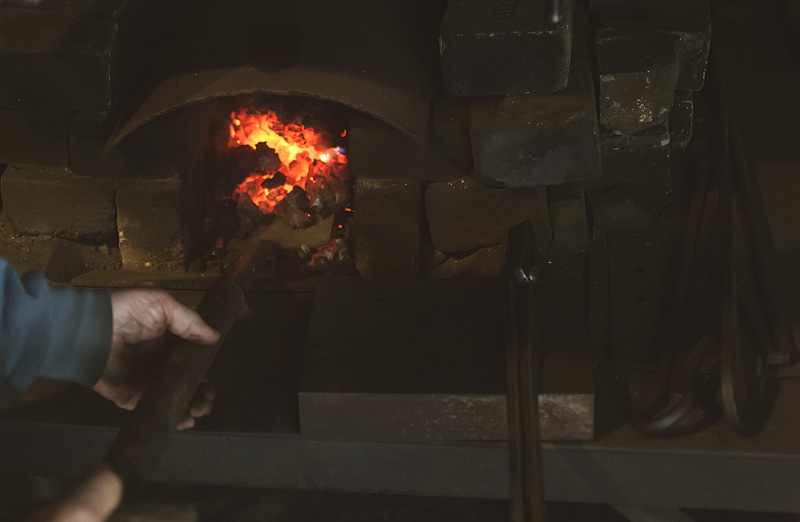
“To heat treat tool steel, we need to first bring it up to temperature slowly. We want to heat it uniformly, so it’s hot right through.” He picked up our paring blade and gently poked it into the hot coals. “I sit it up vertically here, so it heats more evenly. We’re gauging the temperature by color. That’s why it’s dark in here, so we can see our colors properly.”

After a few minutes, he tugged the blade out and held it for me to see. “This is the right color,” he indicated, then turned and plunged the hot steel into a nearby vat of quenching oil. A faint hiss and a wisp of smoke drifted from the vat.
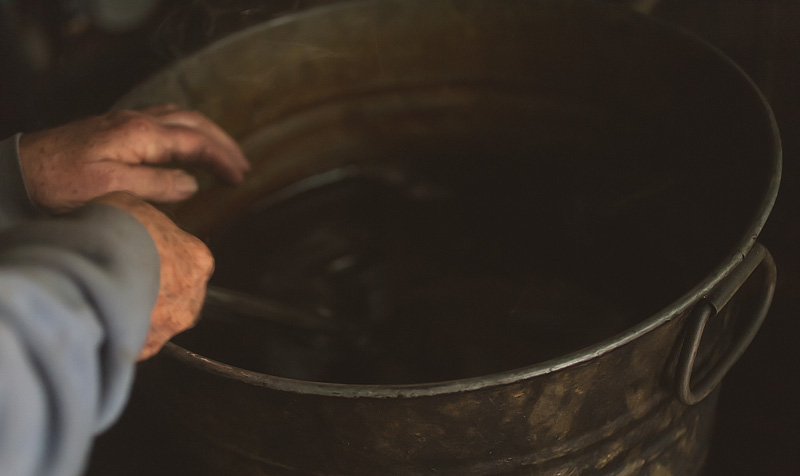
“When steel is heated, the iron is put under tremendous strain. When we let it cool slowly, the steel relaxes. It becomes workable, shape-able. But if we cool it quickly, the steel is sort of ‘frozen’ into its high-tension state. It’s hardened, and can take an edge or can do work.”
He lifted the blade from the oil and pushed it back into the smoldering fire. “Now we need to temper it. We heat it back up again, but just a little bit. This oil smokes exactly at 400 degrees, which is the right tempering temperature for d2. Tempering relaxes the metal again, so it’s got some ductility to it. So it’s not too brittle.”
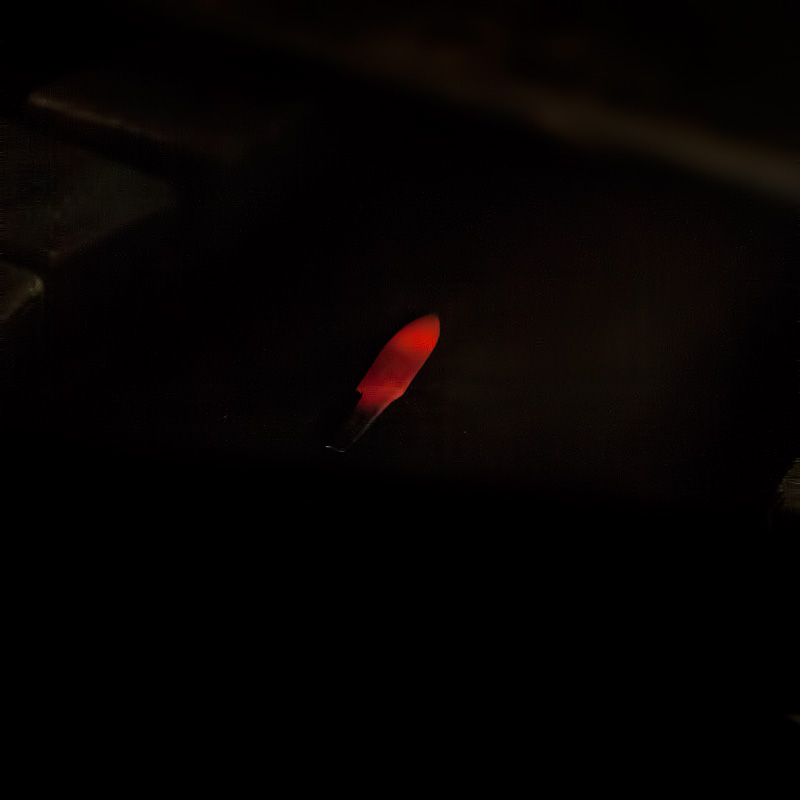
When the dull cherry glow faded from the steel, Karl picked it up and tossed it between his hands. “Still a little warm,” he mused to himself. “Here, let’s test it.” He turned to his workbench and picked up a jagged, rusty rasp. “Look,” he indicated, then began ferociously grinding the rasp into the blade. I looked on with horror at this; the teeth on the rasp were huge, and would tear the blade to bits.
Except. When Karl pulled the rasp away, the blade was completely unscathed. There were no marks on it from the rasp’s teeth at all. “Now,” he stepped back, satisfied. “It’s hard.”
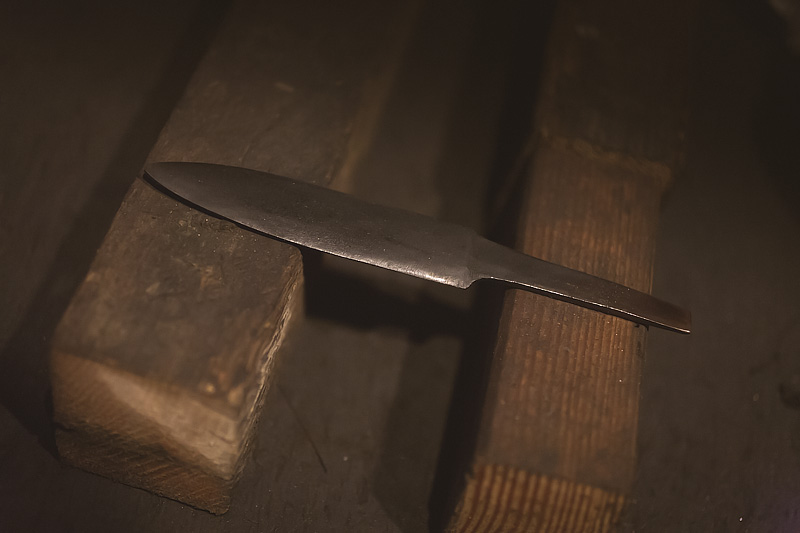
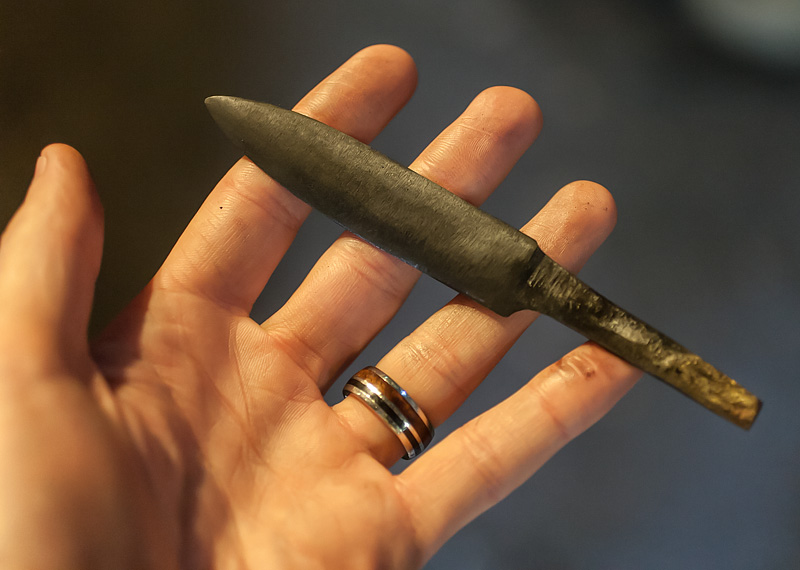
“You can try taking it back to the grinding wheel,” he offered. “It’ll be a lot more slow going now though; this is why you want to do most of your shaping while the steel is annealed.” Sure enough, when I went back to try to clean up the edges of the blade, the grinding wheel threw almost no spark off the steel. I was amazed at how incredibly different the steel was.
Karl walked me through putting an edge on the blade, and showed me several examples of handle designs from his own collection of handmade knives. By this point, however, I was a little itchy to try doing some work on my own, so I asked if I could finish off the handle at home.
“Oh, sure,” he said conclusively, tugging his dust mask off once more. “You know the important part now, though, from start to finish. You can make a blade from a steel rod and make it hard enough to give it an edge.”
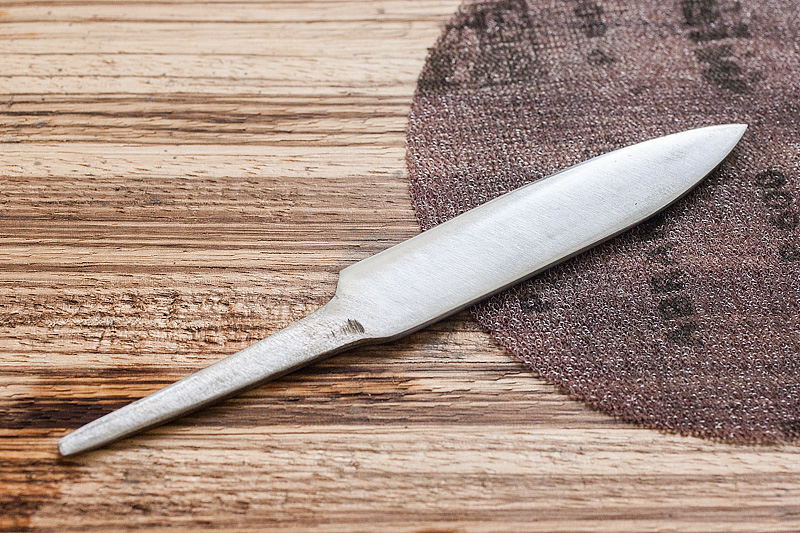
I came home with my blade and dragged out the small cache of hand tools I have. With a belt sander, I worked the blade into a thinner profile, then stepped up the grits to get it closer to a finished state. I also went and bought some scrap hardwoods from a local hardwood lumberyard, cutting these into rough shape for my handle material.
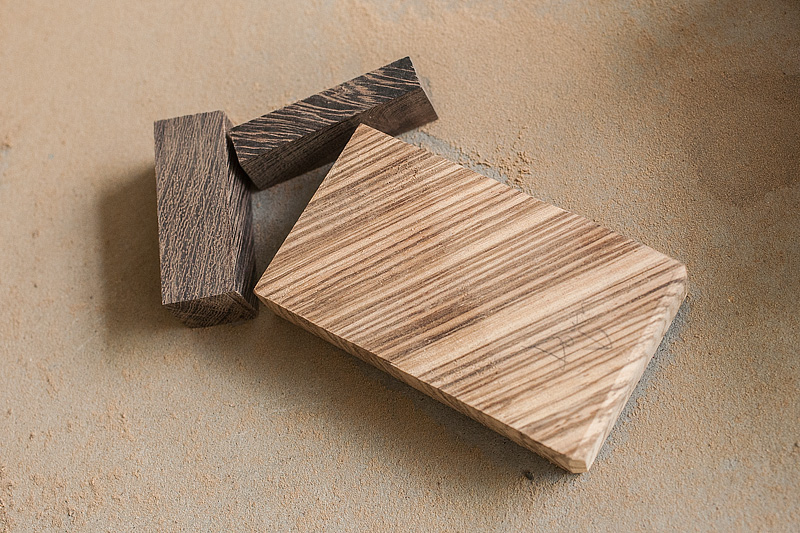
Using a crappily-made Dremel “drill press”, I bored some small slits in my roughed-out handle material, testing the fit carefully along the way.
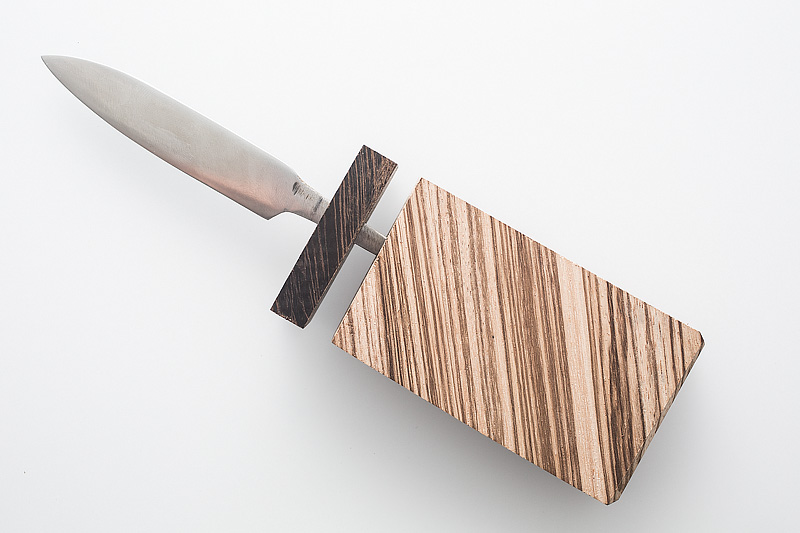
Karl had explained to me how to use an industrial-grade epoxy to bind the handle material together, and how to build a rig for clamping the handle/blade assembly together. I adapted his design into a two-stage one; the bottom platform holds the handle material together at one pressure, while the top platform holds the blade in the handle assembly at a different pressure. This was to help bind the wood tightly while avoiding splitting it by pressing the hardened blade into it too firmly.[/vc_column_text][/vc_column][/vc_row][vc_row][vc_column width=”1/2″][vc_single_image image=”595″ img_size=”full”][/vc_column][vc_column width=”1/2″][vc_single_image image=”596″ img_size=”full”][/vc_column][/vc_row][vc_row][vc_column][vc_column_text]
After waiting about 36 hours for the handle to cure, I removed it from the rig and worked on shaping it with the aid of my handheld belt sander. This part was slow going and again done entirely by eye. It didn’t take me long to appreciate the difficulty of doing precision work with a hand tool; getting the handle faces square, the bevels uniform, and maintaining the blade’s trueness as I worked was difficult and not all the way successful. It would have been easier for me to round off the handle and go for a more organic design here, which would let me hide imperfections more easily. But ultimately I was aiming to learn as much as I could through this process, and considered this bit part of it.
I oiled the finished handle with several layers of walnut oil, then took to my sharpening stones to put an edge on the blade. The d2 steel is, as Karl noted, very wear-resistant and takes/holds a fine edge very well. In contrast to the Tadafusa/Yoshikane knives I got from Bernal Cutlery, my d2 blade doesn’t tarnish quickly, but in contrast to my factory-made Shun stainless knives, the d2 blade takes an edge more easily. I’m excited to put the knife to regular use and try to understand how it ages and what it feels like to work with.
And my nightstand is currently littered with books about ways I can continue learning about bladesmithing, with which I’m finding a whole new fascination.
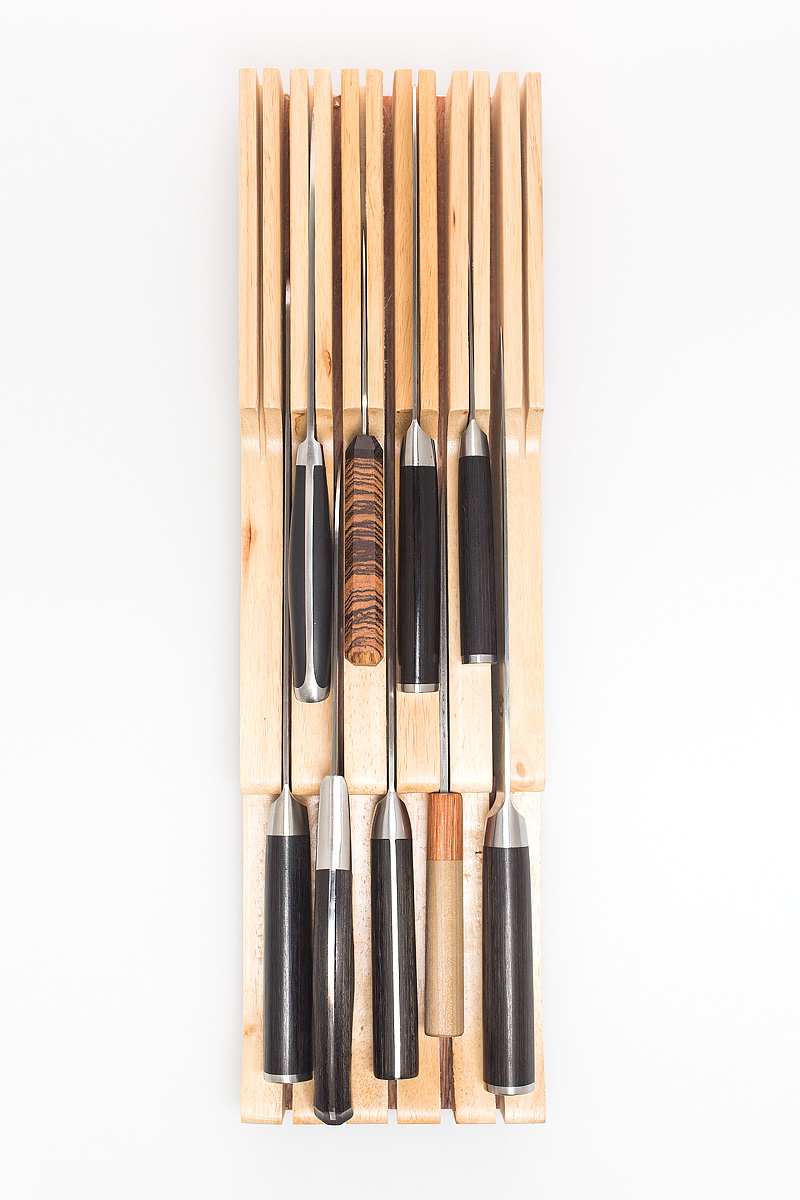
[/vc_column_text][/vc_column][/vc_row][vc_row full_width=”stretch_row_content_no_spaces”][vc_column][vc_single_image image=”571″ img_size=”full” alignment=”center”][/vc_column][/vc_row]


