The process of distilling spirits is, in a general sense, largely a simple one — it relies on the simple predication that alcohols have a lower boiling point than water.
It begins with mixture of sugar and water. Addition of yeast to the mixture triggers the start of fermentation; the yeast eat the sugar and expel carbon dioxide and alcohols as part of their digestive process. This fermented liquid is then heated in a device called a still. At temperatures higher than the boiling point of alcohols but lower than the boiling point of water, the alcohols become vaporized and separated from the water, where they can be condensed back into a liquid and collected in a separate chamber, yielding a more pure and concentrated spirit.
The act of creating, collecting, and condensing alcoholic vapors for the purposes of consumption typically requires a license to do so. This license is expensive and arduous to procure, making it impractical for hobbyists or restauranteurs — who might brew their own beer or make their own wine — to explore the craft of making spirits at scales smaller than that of large commercial distilleries. In the absence of proper licensing, the distillation process is illegal everywhere in the world…with one exception:
New Zealand.
In New Zealand, it is perfectly legal to own and operate a still in one’s home for the purposes of producing spirits. In addition to homebrew shops and winemaking shops, there are distiller’s shops from which one may purchase a still to operate in one’s home. As luck would have it, I have the good fortune to have friends who live in New Zealand. One of them, my good friend Kevin, owns a still.
Let’s learn about distilling.

Distillation itself doesn’t produce alcohol, it merely condenses/purifies it, so we need to start with something alcoholic to begin with. In an abstract sense, this means we need sugar, water, and yeast. This is not dissimilar from making beer (in fact, distilling beer is totally reasonable, and is indeed what Kevin will do if he makes a batch of beer he doesn’t much like), though beer typically involves the employment of hops. Because fragile top notes like hop aroma are completely lost in the distillation process, it doesn’t make sense to use them in the production of what’s called the base mash.
We can get sugar from any number of sources; beer brewers will be familiar with mashes that pull sugar from corn or enzymatic reactions in grain. Or we could pull sugar from a sugar-rich fruit such as apples or pears. We could pull it from grapes, effectively making a wine as our mash. Or we can just use cane sugar.
The input sugar/solids used in our primary mash fermentation dictate what kind of spirit we are making: using some form of cane sugar yields a rum, fruit sugars yield brandy, and corn/grain sugars yield whiskey.
The factor that drives preference for one sugar source or another is usually cost. In the (corn/grain-rich) U.S., whiskey is relatively cheap to produce. Corn is not a crop in gross abundance in New Zealand, however…at least, not relative to cane sugar or tropical fruit. So, while he’s learning, Kevin prefers to use bags of unrefined cane sugar for his mash, which means he makes a lot of rum.
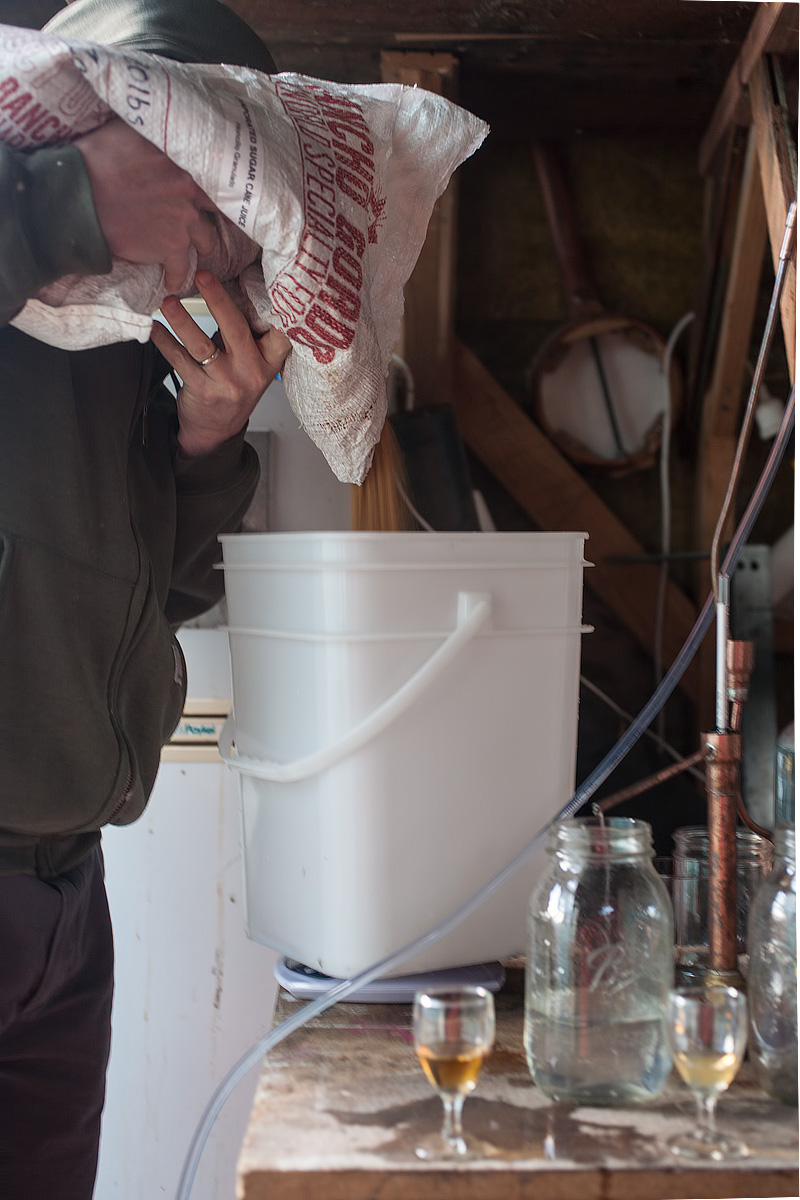
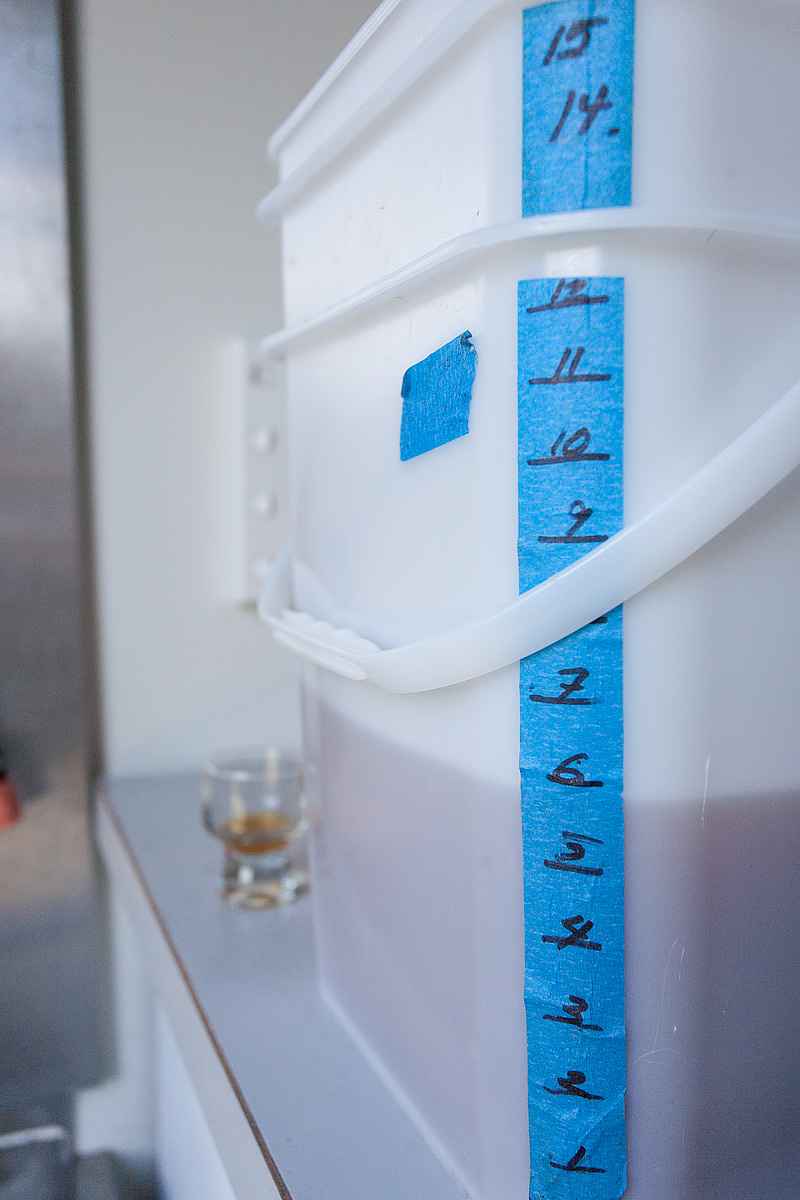
Relative to crafting a mash for beer, making a rum mash is relatively simple: sugar is mixed with water and either agitated or gently heated just until it dissolves. There’s no lengthy boil here, no mashing/sparging or hop boiling. We just need to get the sugar dissolved and warmed to a temperature that will suit the yeast being used. Academics will prefer purpose-bred yeasts for distillation: so-called “Turbo Yeast” or distiller’s yeasts that tolerate high alcohol and ferment quickly. Ideally we’d like to maximize the original alcohol content of our mash before distilling it, to help our yield later. But Kevin is resourceful and dislikes waste, so he prefers to use whatever yeast he has on hand from his latest beer brewing experiments. As it stands with our rum, he finds and uses champagne yeast. After adding it, we take note of the final sugar content (measured in Brix), then the mixture is capped and left to ferment for several days.

At the same time, Kevin has a feijoa tree in his backyard that’s littering his ground with heaps of ripe tropical fruit. He tisks the mess disdainfully as we sip beers in his yard one afternoon, then an idea occurs to him. We gather the fruit, mash it up and mix it with water, then add yeast to this as well. “You ever done this before?” I ask as we cap the bucket.
“Nah,” he waves dismissively as he squints through his refractometer and notes the sugar content. If things go well, this will become feijoa brandy; if not, he’ll have some very floral-scented paint thinner.
After about a week, the two fermenters have settled down and we decide it’s time to run the still. Kevin sets up his store-bought still in the shed behind his house, though that’s mostly because I’m visiting and we like puttering around in his shed together. On his own, he’s just as likely to set it up in the laundry room in his house.
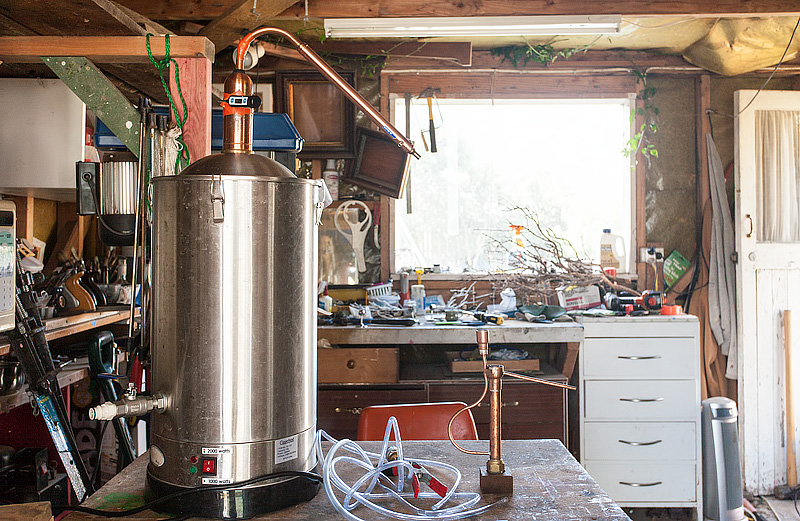
The still itself is a simple device; it has an electric heating element in the bottom of it, above which sits the chamber which will hold our mash. The heating element runs at either 1000 or 2000 watts…a toggle switch allows him to adjust which temperature he wants to use. There is no “off” switch. Because of this, Kevin plugs the still into a power strip with an on/off switch on it, in case he needs to roughly achieve a lower temperature (he flicks the on/off switch on the power strip every minute or two).
The “lid” clamps onto the body of the still securely; it is one of several lids, on which are mounted a head and a lyne arm. The head shown here is relatively small and simulates the behavior of a pot still, but Kevin also has a head with a much taller column–known as a reflux column–that’s filled with ceramic plates on which vapor condenses and re-evaporates as it works its way through the device. This condensation/re-evaporation cycle purifies the distillate much more effectively than a pot still head will. Spirits produced with a reflux column have almost no characteristics of the mash from which they are derived, which makes them useful for neutral spirits like vodka, or spirits that will be subsequently infused with various flavors (as is the case when making gin, or for use in making bitters, e.g.).
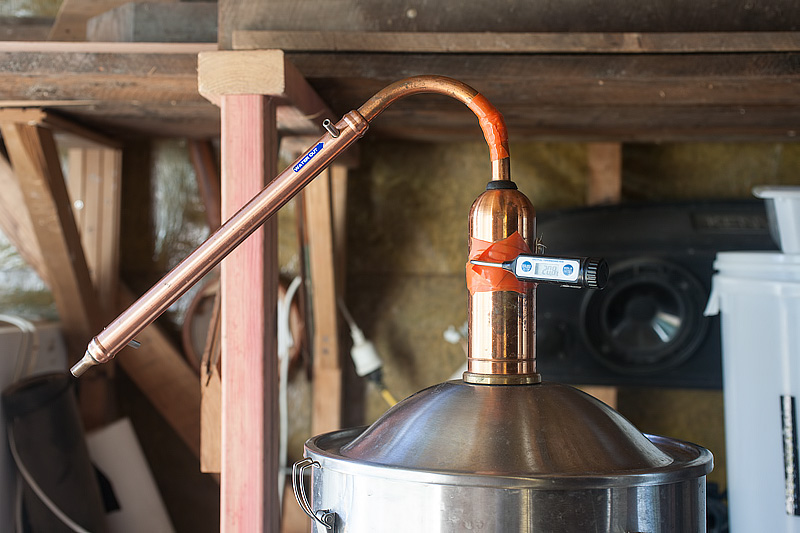
The pot still head we’re using allows for more of the flavor of the original mash to come through. This is more desirable when making rums, whiskeys, or brandies. The head connects to the lyne arm, on which is a condenser. We connect two rubber hoses to this condenser: the input hose is connected to a water faucet on the side of his house..
…while the output hose runs out to his garden.
 Water flows into the condenser at a cooler temperature than the alcohol vapor inside of it, which pulls the vapor below its dew point and causes it to return to liquid form. It then flows out the bottom of the condenser and into a collection vessel.
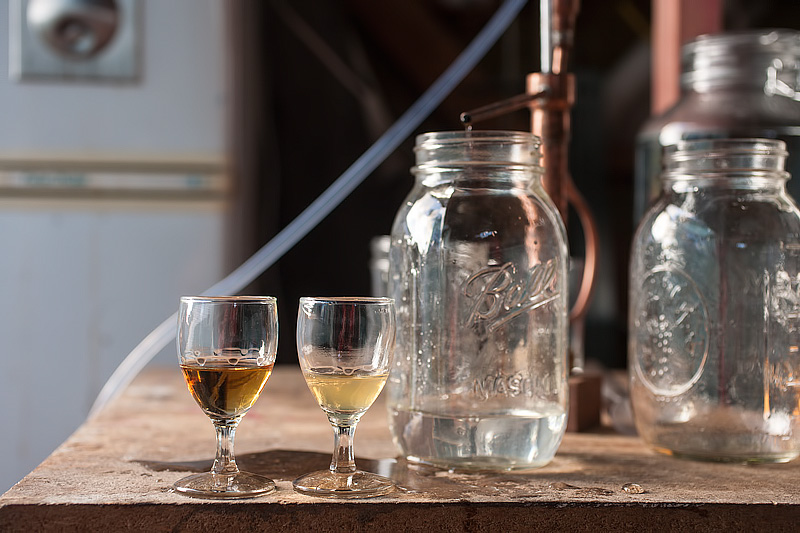
We begin with the rum, which has fermented out to be about 7% alcohol (roughly the same as you’d get making beer). We pour it through a strainer into the still; the strainer ensures no impurities rest on the bottom of the still as it heats, which could burn and impart burnt flavors to the distillate. This step becomes much more critical with the feijoa mash and with corn/grain mashes, which, once-strained, are properly called washes.
The wash is heated for what’s called the stripping run; our goal here is simply to try to coarsely separate the alcohols from the rest of the wash; we are not yet concerned about flavor. To monitor the temperature inside the still, we refer to a thermometer mounted in its column.

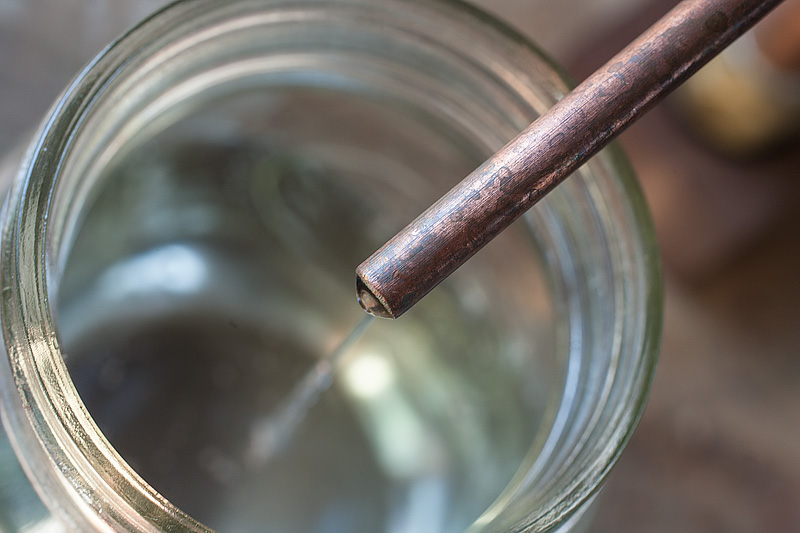
Kevin and I watch as the temperature rises from room temperature (20℃) until it reaches about 65℃, at which point we begin to run the condenser. Alcohols begin to boil at around 70℃; it is at this point that we begin to see drops of condensed spirit emerge from the lyne arm.
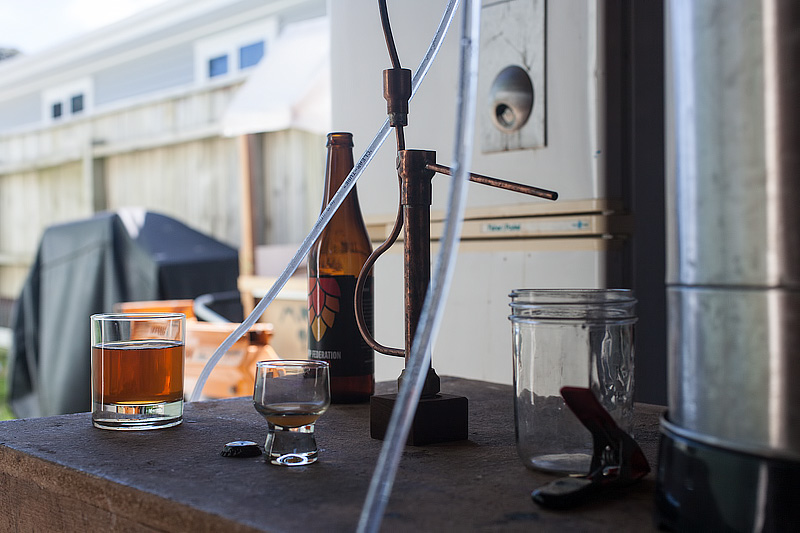
We could rely on temperature alone to gauge the alcohol content of what’s coming out of the still, but this approximation is a coarse one. Kevin has chosen instead to build himself a device called a parrot.
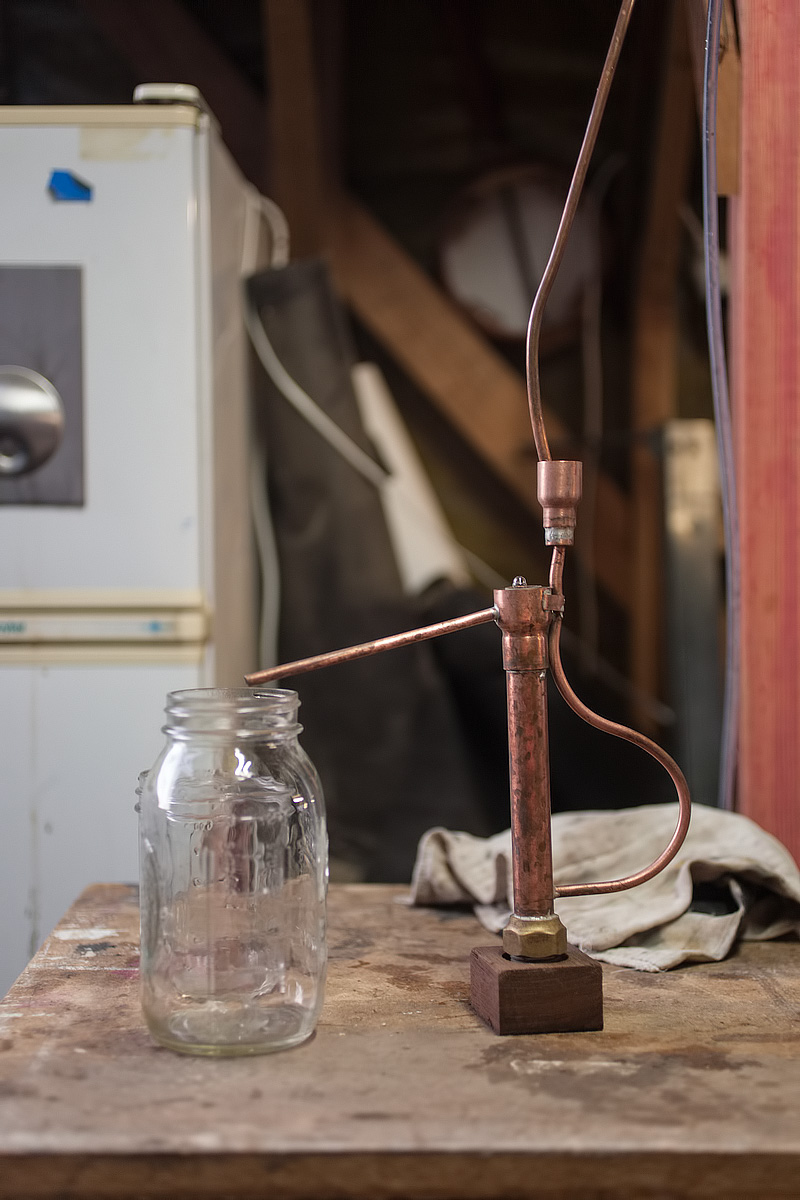
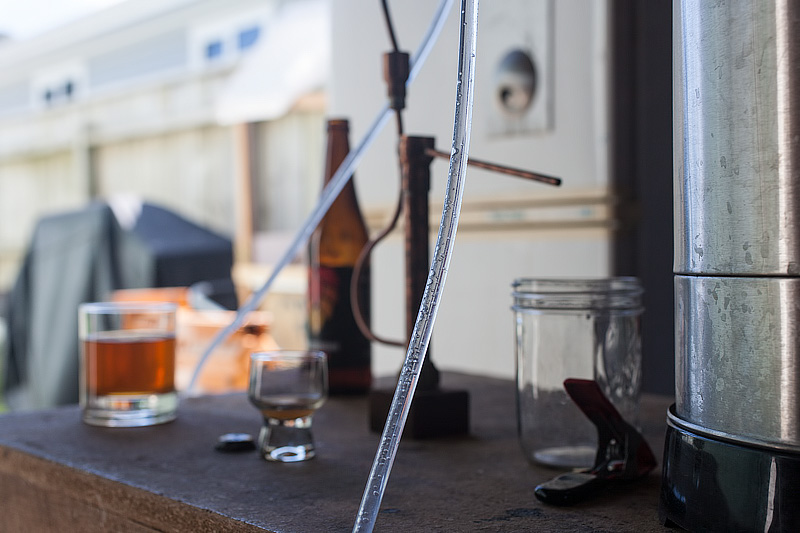
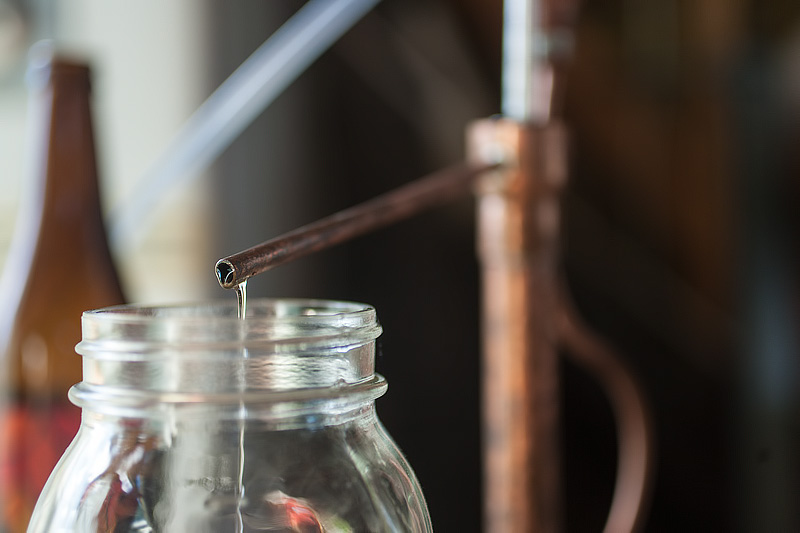
Distillate drips into the rightmost, goosenecked tube of the parrot into an inner column. As this inner column fills, overflow spills out into an outer chamber and down an extension (coming off to the left in the above photo) before dripping into the glass jar.

The parrot has been constructed such that the inner chamber allows enough room to insert a distiller’s hydrometer, which can float freely as the chamber fills and overflows. This hydrometer measures the relative density of the liquid in which it sits, which allows a much more accurate reading of the alcohol content percentage of the distillate.

The term “alcohol”, as I’m using it here, refers not to a single substance, but instead a range of compounds that boil at temperatures below 100℃. As the temperature moves from about 70℃ to 100℃, the percent alcohol of the distillate drops, as we are boiling off less alcoholic compounds and more pure water. Once the temperature reaches 100℃, we can be confident we have pulled the alcohols we’re interested in from the mash (the general rule of thumb is to run the still until the percent alcohol coming off the still is about the same as that of the original mash), resulting in a coarsely-distilled batch of what are referred to as low wines. This stripping run took about 5 hours from start to finish, and yielded low wines in a volume of about 1/3 that of our original wash.
At the end of the stripping run, the remainder of the wash in the still was poured back into the fermentation bucket, topped up to its original volume, and we added more sugar and yeast to it. This process is called backsetting, and is used to encourage consistency from batch to batch. Large distilleries such as Maker’s Mark, whose primary concern is large-scale consistency, backset their distillation runs as one technique to compensate for other variables in the brewing/distillation/aging process.
We then poured the low wines back into the still for a secondary distillation, known as the spirit run. It is this run that we will use to dial in flavor, and so we shift the still to a lower temperature to slow the process down. We again use the thermometer and the parrot to gauge where we are in the process, but to this we add a third calibration point: our sense of taste.
Ethanol, a flavorless alcohol that wholly-composes neutral spirits, boils at around 77℃. Whiskeys, rums, and brandies, however, consist of more than just ethanol; they are mixtures of compounds that have boiling points both below and above that of ethanol. These compounds are collectively referred to as cogeners, and they are, in various amounts, what give whiskeys, rums, and brandies their flavor.
Some of these cogeners are harmless, while others are toxic. Methanol, for example, is extremely toxic; drinking it pure can cause dizziness and confusion. Even 10ml of pure methanol can cause blindness, and as little as 30ml can be fatal. It should be noted that methanol is present in any alcoholic beverage; beer and wine contain trace amounts of it. We’re not creating it as a byproduct of the distillation process; what makes it a more formidable factor here though is the fact that we’re heavily concentrating it in this process.
Ideally we’d like to separate out these cogeners, discarding some and using others as needed. We do this by again relying on the fact that the various cogeners have their own boiling points; they come off the still in sort of a little parade, one after another, and so our mechanism for separating them is making cuts in the distilling process.
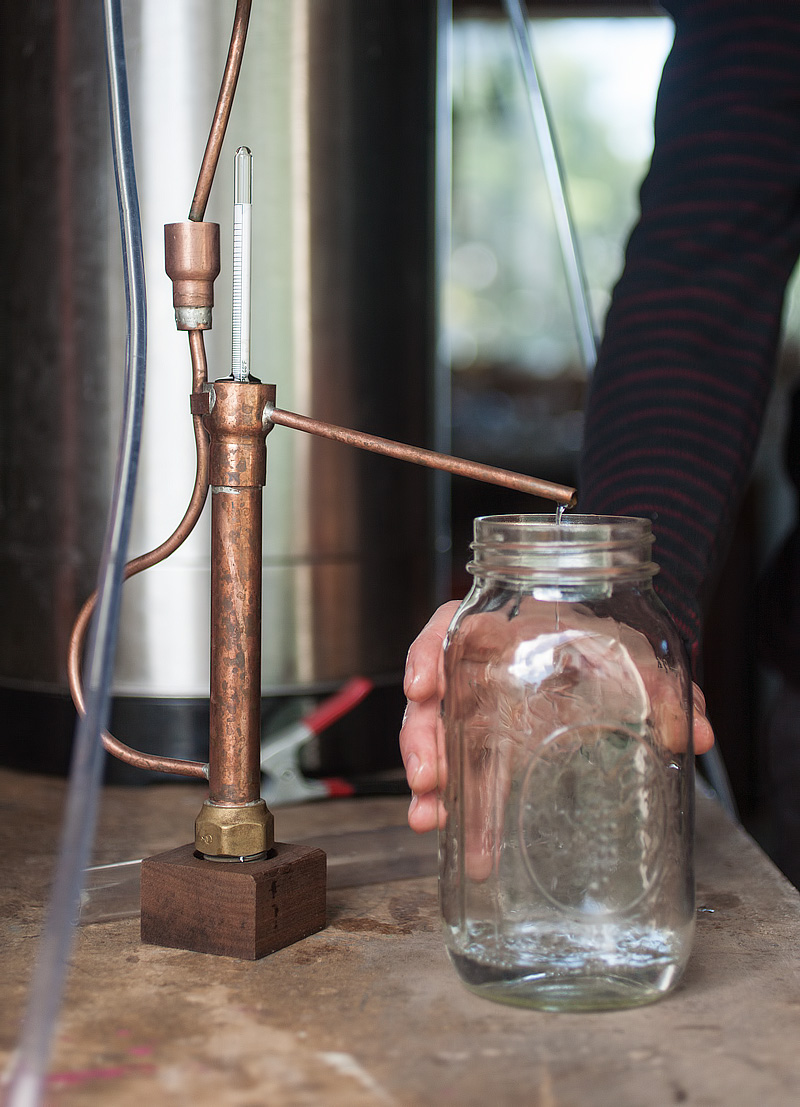
As the temperature approaches 70℃, Kevin and I assemble a series of small collection jars, each labeled and arranged in series. Periodically throughout the spirit run, we swap out the jars. The more frequently we do this, the more fine-grained our discretization of cogeners is.
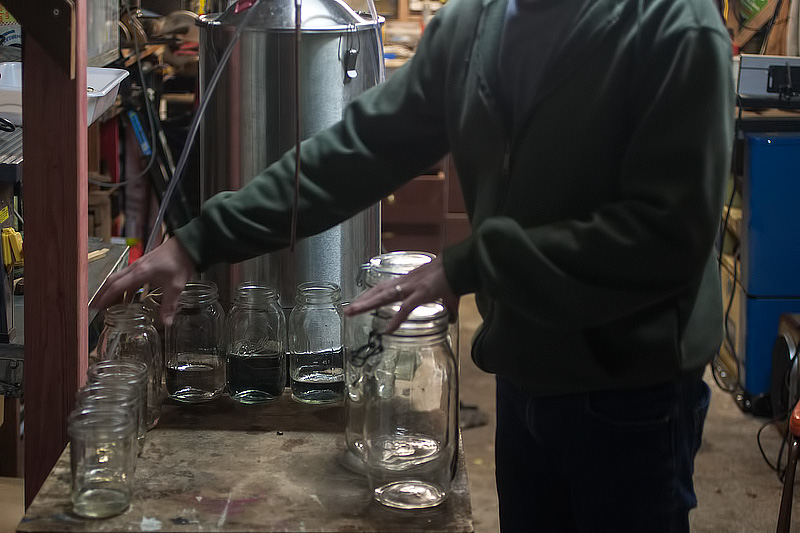
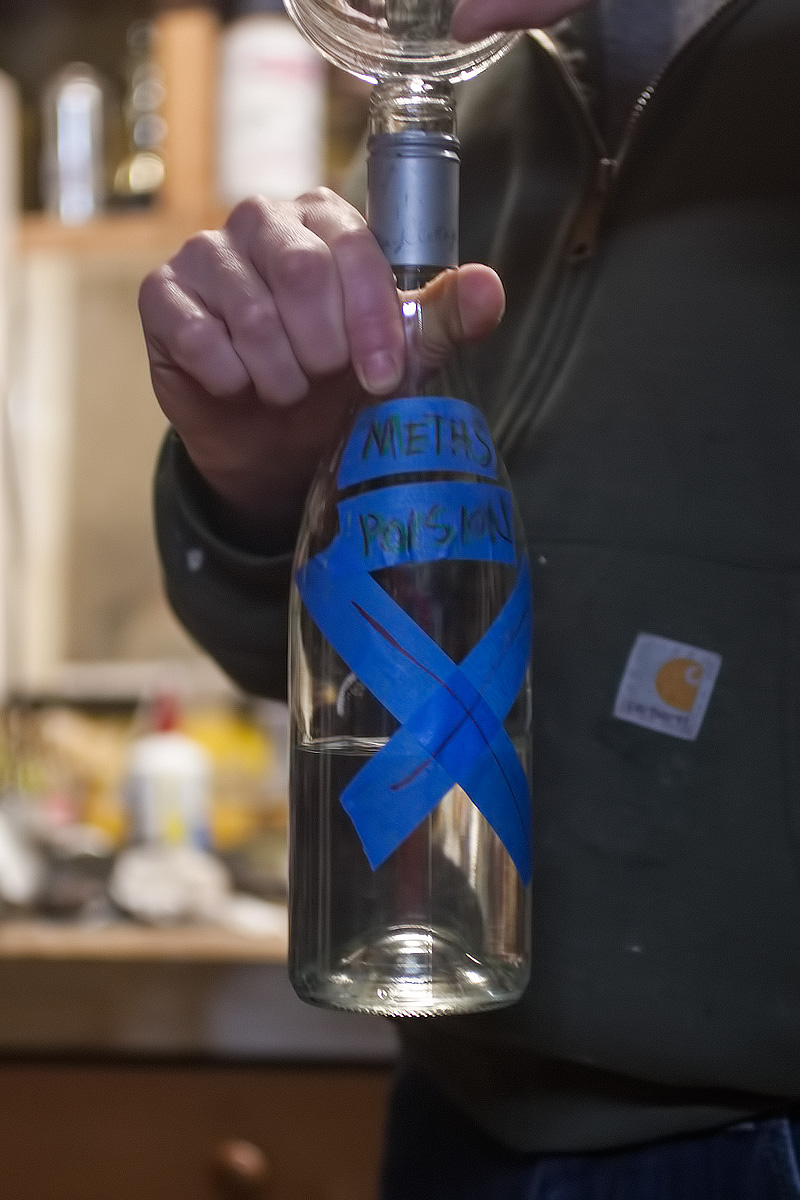
The first cogeners to come off the still (at the lowest temperatures) are the most toxic/noxious ones; methanol is among these. These very first drops to emerge are referred to as the run’s foreshots; they smell and taste unequivocally terrible, not dissimilar from nail polish remover or paint thinner, which is exactly what purpose they’ll serve for Kevin.
As temperature rises, these noxious cogeners give way to slowly to less-toxic but still not very pleasant ones. This section of the run is referred to as the heads. The heads eventually move into the more desirable cogeners like ethanol, which in turn are referred to as the hearts of the run. The hearts have a recognizable aroma of the original wash, and lack the ‘burny’ taste usually associated with spirits. After a bit more time has passed, the hearts give way to the tails, a variety of cogeners that take on the distinct aroma of wet cardboard or wet dog.
While these cogeners are all roughly separable, there’s enough overlap in their boiling point ranges to make it impossible to separate them effectively using temperature/proof alone as measures of when to make cuts. Once the run is complete, we examine the contents of each of our cut jars, using our sense of smell and taste to identify where the heads, hearts, and tails are. Ideally, one would keep only the hearts of a run, but this would result in a very small yield, and would lack some flavor complexity. So, we add some sections of the tails into the collected hearts to yield our final spirit. The remaining heads and tails are combined and added to the backset ferment, to be re-distilled in the next run.
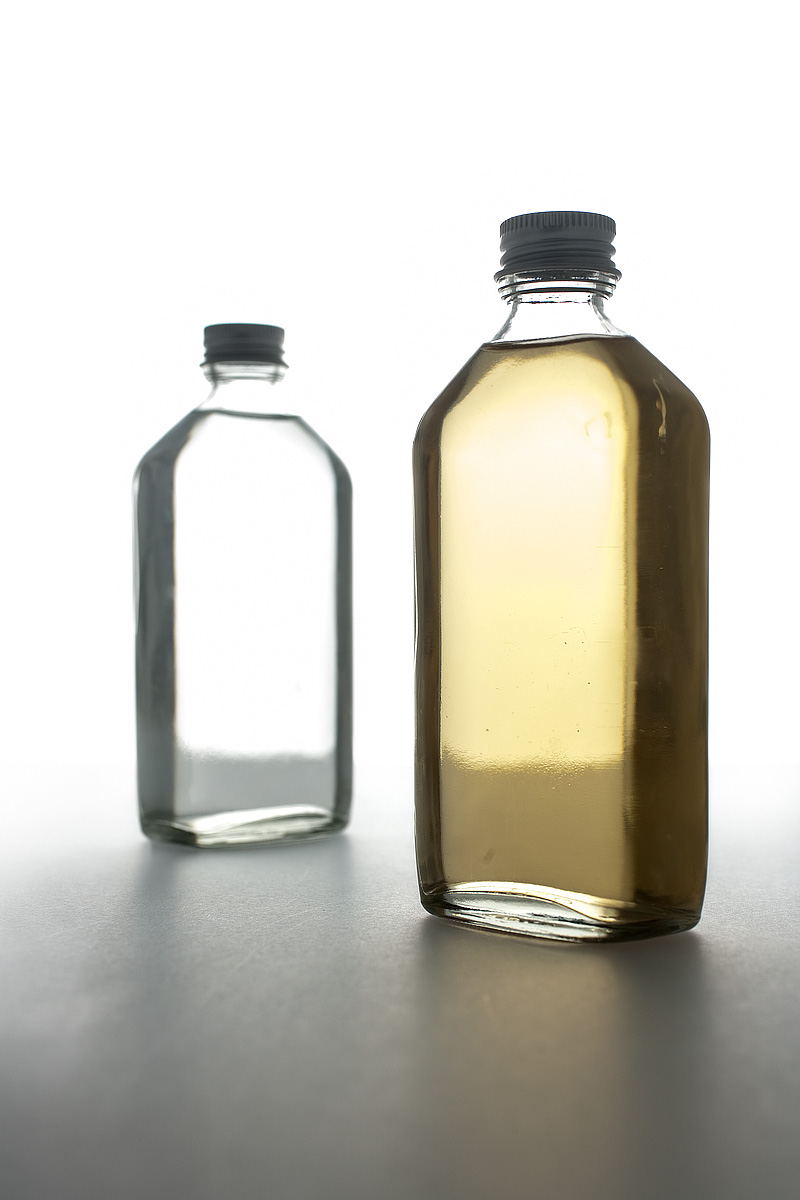
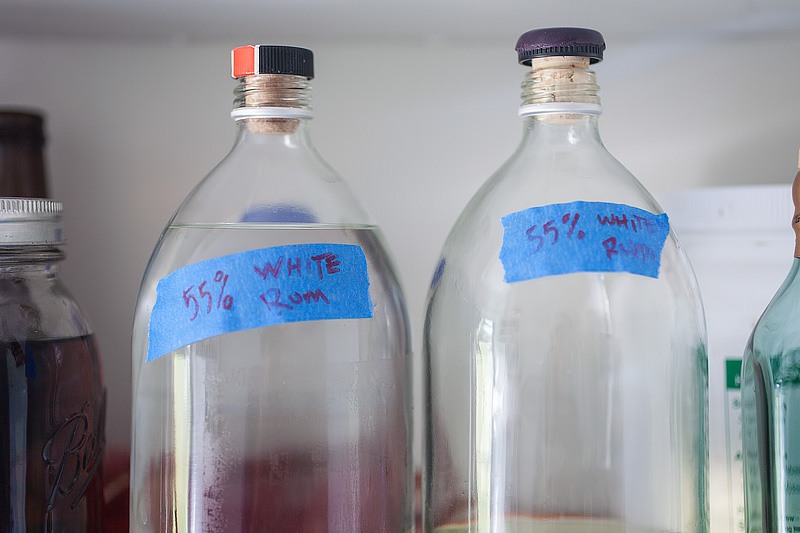
We measure some of our spirit into a graduated cylinder and measure the final alcohol content…it is close to 70%. Most commercial spirits are diluted back down to a more palatable 40% or so, with some ‘cask-strength’ or ‘overproof’ spirits having alcohol content up to 60%. We choose to dilute ours to 55%.

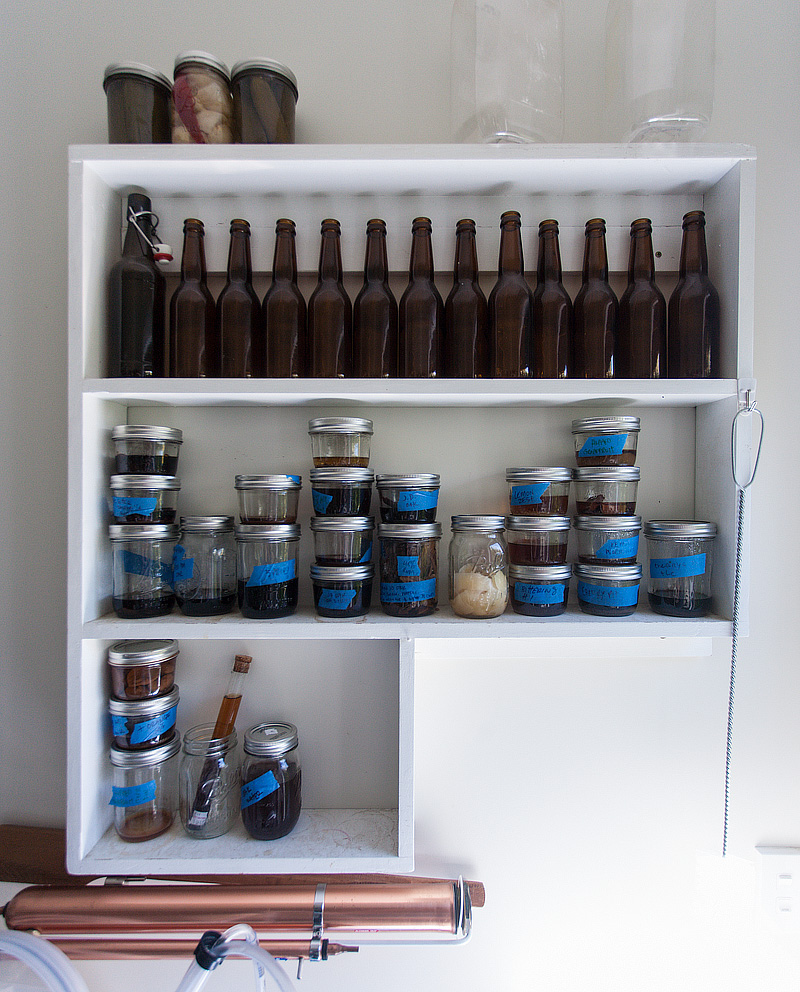
Most of this process up to this point has been technical, but it is after the distillation that there is lots of room for crafting the spirit further. Kevin breaks his rum runs into small jars, adding various ingredients to each to infuse them. To make spiced rum, he adds spices to his rums and lets them infuse. To make gin, he’ll add juniper and herbs. He’ll test and gauge these infusions to get ideas for what he’d like to try next; some of the experiments become bitters, some liquors. If he dislikes an infusion, he adds it to his backset for re-distillation later. The process effectively offers an ‘undo’ button in this regard.
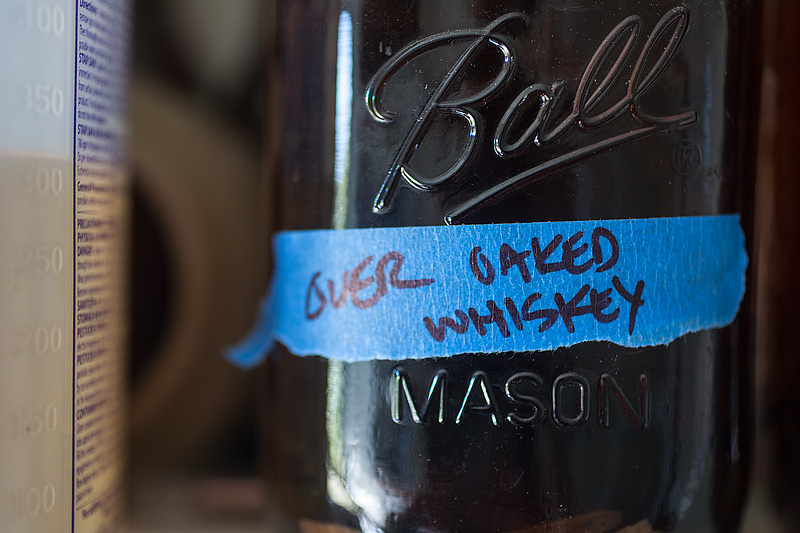
 One of the more interesting experiments he works on is studying the effects of oak aging. Traditionally, oaked rums or whiskeys derive flavor from long-term storage in barrels. Some theorists posit that one could speed up this process by aging spirits on oak chips, positing that more surface area equals ‘faster’ aging. I don’t find this to be true: oak chip aging does indeed quickly infuse a spirit with oak character, but the end product sort of tastes like what it is: wood dipped in booze, or booze soaked in wood, not really the well-integrated, harmonious, more-than-the-sum-of-its-parts flavors present in well-aged bourbons.
Kevin experiments with pressure-infusing or vacuum infusing, even going so far as trying various things like microwaving his spirits in jars filled with wood chips to cause a small amount of pressurized expansion/contraction in the aging environment. To me, it still tastes ‘young’.
 His most promising experiment, however, is a large carboy that he’s patiently accumulated overproof rum in, and is aging gently on bourbon barrel wood chips typically used for a smoker. This oak-aged rum of his is legitimately very tasty. The success here, in my opinion, likely isn’t due to the use of chips or maximizing surface area. He’s been collecting this rum for the better part of a year and a half or so, and so this aging process isn’t what I’d call ‘rapid’. I wonder if one needs to just let age do the aging, if letting alcohol sit with oak for a while causes the two to get to know each other a bit better, allowing for some molecular changes to occur that only happen with time.